Auto-Mate is simple to install. Follow these steps.
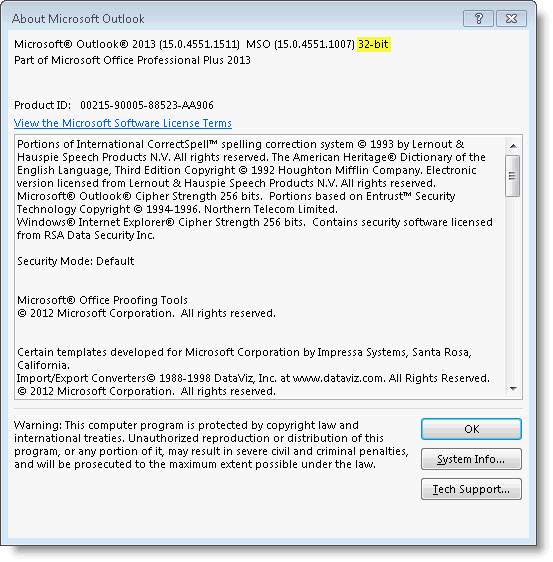
Determine the bit version (32 or 64) of Auto-Mate that you need to install. To determine your bit version of Outlook, please consult the About information in Outlook. For example in Outlook 2013, this information can be found by clicking the File tab, then Office Account item, then the About Outlook button. You will see this information where you can determine the bit version:
Once you have the bit version, use this table to determine the proper installation package to install:
Your version of Outlook |
Proper Auto-Mate version |
2007 |
Auto-Mate Standard or Pro 32 bit |
2010 32-bit |
Auto-Mate Standard or Pro 32 bit |
2010 64 -bit |
Auto-Mate Standard or Pro 62 bit |
2013 32 bit |
Auto-Mate Standard or Pro 32 bit |
2013 64 bit |
Auto-Mate Standard or Pro 62 bit |
After you download the setup zip file from the Pergenex.com download page, please unzip the 2 files to your Desktop or another folder on your hard drive. Please do not unzip and install from a network file share as you may have problems uninstalling the software in the future.
If you are upgrading from a previous version of Auto-Mate, please uninstall the current version before installing the new version. To uninstall your old version, please use Windows Control Panel. When you uninstall any version of Auto-Mate, your rules are always left preserved on your hard drive in the following location:
C:\Users\[youruserid]\AppData\Roaming\Pergenex Software\Auto-Mate [version]
for example: C:\Users\jsmith\AppData\Roaming\Pergenex Software\Auto-Mate 7.0
The AppData folder is normally hidden so you may need to configure your Windows Explorer to show hidden files.
After installing the new version, you will be prompted to import your old rules.
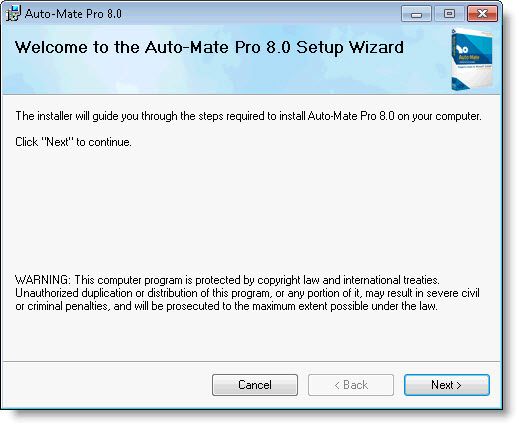
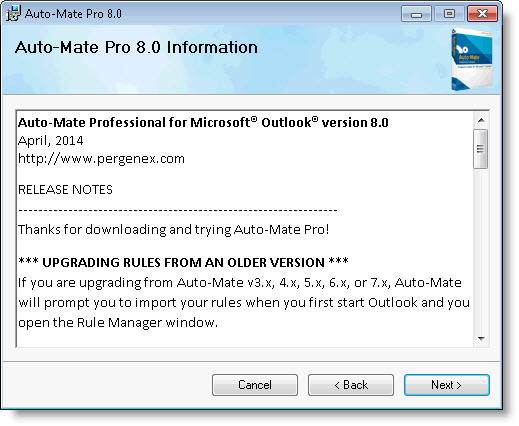
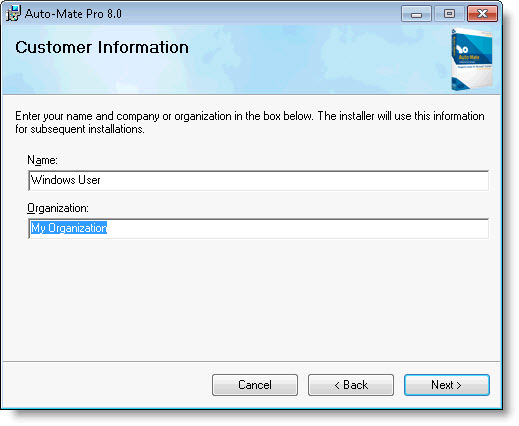
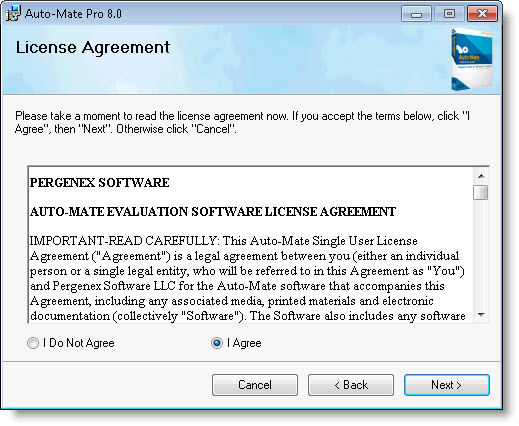
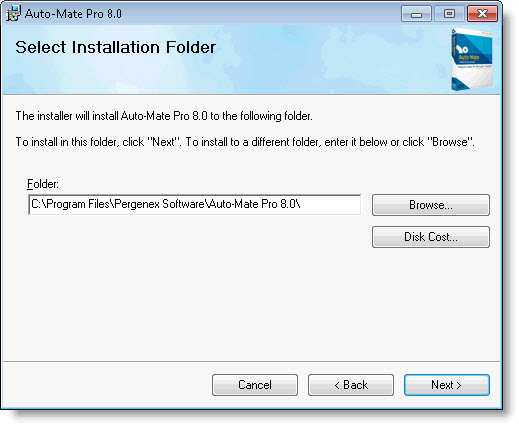
Make sure Outlook is closed, then run the setup.exe file. Windows User Account Control Control (UAC) will prompt and confirm that the setup program can make changes to your system. Select Yes to continue the installation. Follow the setup wizard to complete the installation on your computer. The progression of screens you will see are shown below. When the installation is complete, please start Outlook.